Row 2 (Right Side): Chain 3 (counts as the first double crochet).
Double crochet in each of the next 2 single crochets.
Pattern repeat: Skip the next 2 single crochets, work a tilted block stitch in the next single crochet, skip the next 2 single crochets, then double crochet in each of the next 3 single crochets.
Repeat from * to * across the row.
Turn your work.
Row 3: Chain 3 (counts as the first double crochet).
Double crochet in each of the next 2 double crochets.
Pattern repeat: Chain 2, single crochet in the top of the chain-3 of the next tilted block stitch, chain 2, then double crochet in each of the next 3 double crochets.
Repeat from * to * across the row.
Turn your work.
Row 4: Chain 3 (counts as the first double crochet).
Double crochet in each of the next 2 double crochets.
Pattern repeat: Work a tilted block stitch in the next single crochet, then double crochet in each of the next 3 double crochets.
Repeat from * to * across the row.
Turn your work.
Continue the Pattern:
Repeat Rows 3 and 4 to maintain the pattern. When you reach your desired length, be sure to end on Row 3.
Optional Finishing Row
To give your project a clean edge, you can add a finishing row: Chain 1, then single crochet in each double crochet, each single crochet, and each chain stitch across.
Fasten off your yarn to complete the project.
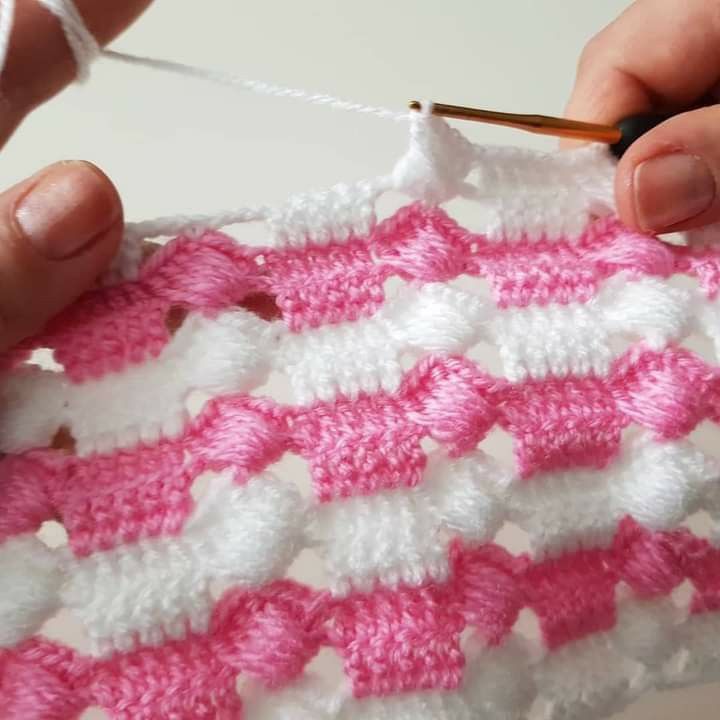
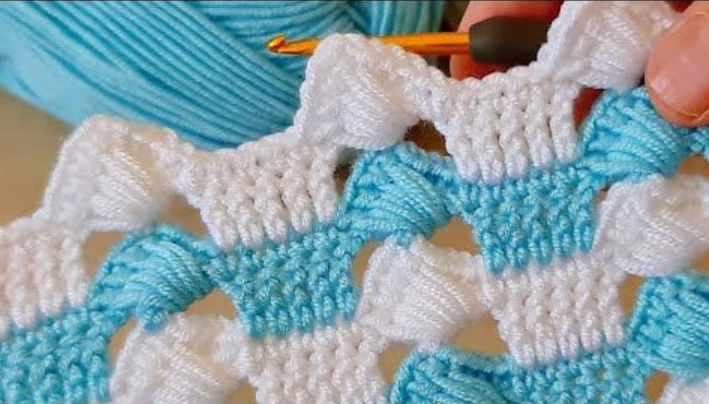
Tilted Block Stitch Pattern
With its simple repetition and striking visual impact, the Tilted Block Stitch is a fantastic addition to any crochet enthusiast’s skillset. Whether you’re working on a blanket, scarf, or even a pillow cover, this stitch is sure to add a unique and stylish flair to your project. Enjoy exploring the possibilities with the Tilted Block Stitch!
This stitch is especially popular for blankets, scarves, and home décor because it produces a dense, cozy fabric with excellent structure. If your readers enjoy textured stitch patterns—similar to Alpine, Larksfoot, or Interlocking designs that perform well on crochet blogs—the Tilted Block Stitch is another wonderful addition to their collection of favorite techniques.