Round 4:
(7 dc, 1 ch in each 2-ch space) 8 times [8 x 7-dc groups, 8 ch spaces]
Round 5:
(7 dc in next stitch, 1 tr in the 1-ch space of previous round) 8 times [56 dc, 8 tr]
Round 6:
(1 dc, 1 sl st, ch 3, 1 sl st, 1 dc, 1 ch, (2 tr, 2 dc, 2 tr) in tr = corner),
1 dc, 1 sl st, ch 3, 1 sl st, 1 dc, 1 ch, 1 dc in next tr of previous round) 8 times, as in Round 5
Round 7:
1 dc in each stitch, (2 tr, 2 dc, 2 tr) in each corner space
Finish:
Fasten off and weave in ends
🧵 Assembly Instructions
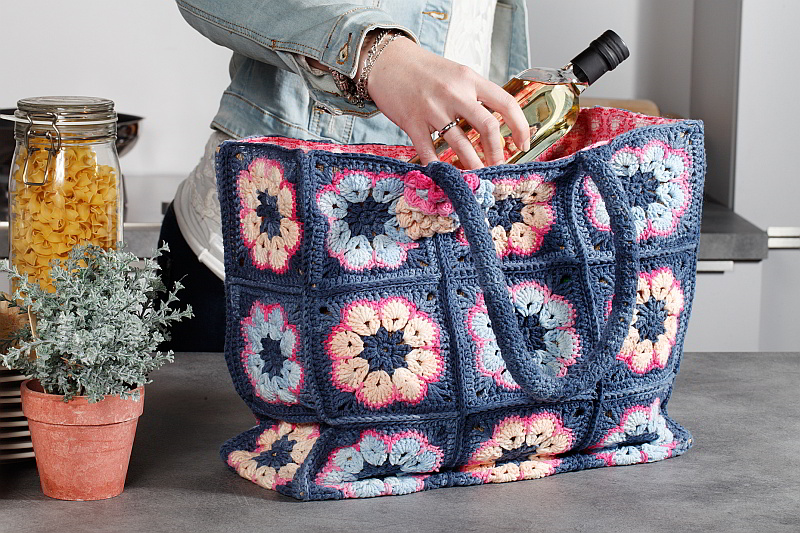
All granny squares are joined using single crochet. Place the squares with right sides facing and crochet through the outermost stitches using sc.
When assembling, alternate the colors (light blue, peach, pink, fuchsia). First, make 9 granny squares for the front and back of the bag (adjust according to your desired size). Then, create the panels for the sides and bottom. Finally, join all the parts together.
🧵 Lining and Finishing
Cut the following fabric pieces (adjust to your bag size):
30 x 40 cm (front and back)
16 x 90 cm (sides + bottom)
2 x 18 cm and 18 x 18 cm (with zipper) or 20 x 20 cm (without zipper)
Sew the front and back fabric panels. Then sew the side and bottom pieces. Stitch all fabric panels together and place them inside the crochet bag.
Secure the fabric lining to the top edge of the crochet bag using a sewing needle and invisible stitch.
👜 Straps
For the straps, crochet two strips:
Join the straps with slip stitches, fasten off, and sew them onto the bag. Add a round of single crochet along the bag’s top edge for extra reinforcement if desired.
🌸 TIP!
Crochet small flowers using yarn scraps and attach them to the bag for a playful, decorative touch!
📥 Feel free to download the free PDF version of the pattern at the end of this post!
👉 Download Granny Square Bag Tutorial PDF
This project is perfect for beginners and experienced crocheters alike. The mix of crochet and sewing techniques creates a strong, beautiful accessory you’ll be proud to show off.