Terms:
Pattern is written in standard American crochet terms
Stitch Abbreviations
Pattern Instructions
Creating the First Band
Row 1:
Ch 70. Hdc in the 3rd ch from hook (beginning ch 2 counts as the first hdc here and throughout). Hdc in each ch across. Turn.
— 69 hdc
Row 2:
Do not work into the regular “V” of the stitches. Instead, work into the third loop in the front of each stitch.
Ch 2, hdc in the third loop of the next st and in each st across. Turn.
— 69 hdc
Row 3:
Ch 2, hdc into the third loop at the back of each stitch. This pushes the “V” to the front, creating texture. Do not fasten off.
Creating Additional Bands
Ch 70 again and repeat Rows 1–3 to make the second band.
Repeat the same process two more times, for a total of 4 bands joined on one side.
Do not fasten off.
Joining the Bands & Side Panel
Work along the short edge of the bands.
Row 1:
Ch 1 (does not count as a stitch). (1 sc, sc2tog, 1 sc) across the edge of each band. Turn.
— 12 sc
Row 2:
Ch 1, 1 sc, sc2tog repeat across. Turn.
— 8 sc
Row 3:
Ch 1, 3 sc, sc2tog, 3 sc. Turn.
— 7 sc
Rows 4–14:
Ch 1, sc in each st across. Turn.
— 7 sc
Fasten off. This side panel will measure approximately 3½ inches.
Braiding the Bands
Step 1:
Bring the 4th strip over the 3rd, and the 2nd strip over the 1st.
Step 2:
Cross the two center strips by bringing the left strip over the right.
Repeat these two steps until the entire length is braided.
Arrange the opposite short ends evenly. Join yarn at the corner and repeat Rows 1–14 along this side to create the second side panel. Fasten off.
Thread about 1½ yards of yarn and loosely stitch the braid on the back side where the strips cross to secure the shape.
Second Braided Layer
Ch 86 and repeat the same steps used for the first braid.
For the side panels on this longer braid, repeat Rows 1–17 instead of stopping at Row 14.
The finished side panel should measure about 4½ inches.
Secure the braid in the same way as before.
Assembling Both Layers
Place the longer braid over the shorter one, aligning the side panels.
Left Side Panel
Row 1:
Working through both layers, sl st to first st, ch 1 (not a st), sc across. Turn.
— 7 sc
Rows 2–3:
Ch 1, sc in each st across. Turn.
Row 4:
Ch 1, 2 sc, ch 3, 2 sc. Turn.
Row 5:
Ch 1, 2 sc, 3 sc into ch-3 space, 2 sc. Turn.
— Buttonhole created
Row 6:
Ch 1, sc in each st across. Turn.
Row 7:
Ch 1, sk next 2 sts, 6 dc in next st, sl st in last st. Fasten off.
Right Side Panel
Row 1:
Working through both layers, sl st to first st, ch 1, sc across. Turn.
— 7 sc
Rows 2–6:
Ch 1, sc in each st across. Turn.
Row 7:
Ch 1, sk next 2 sts, 6 dc in next st, sl st in last st. Fasten off.
Finishing
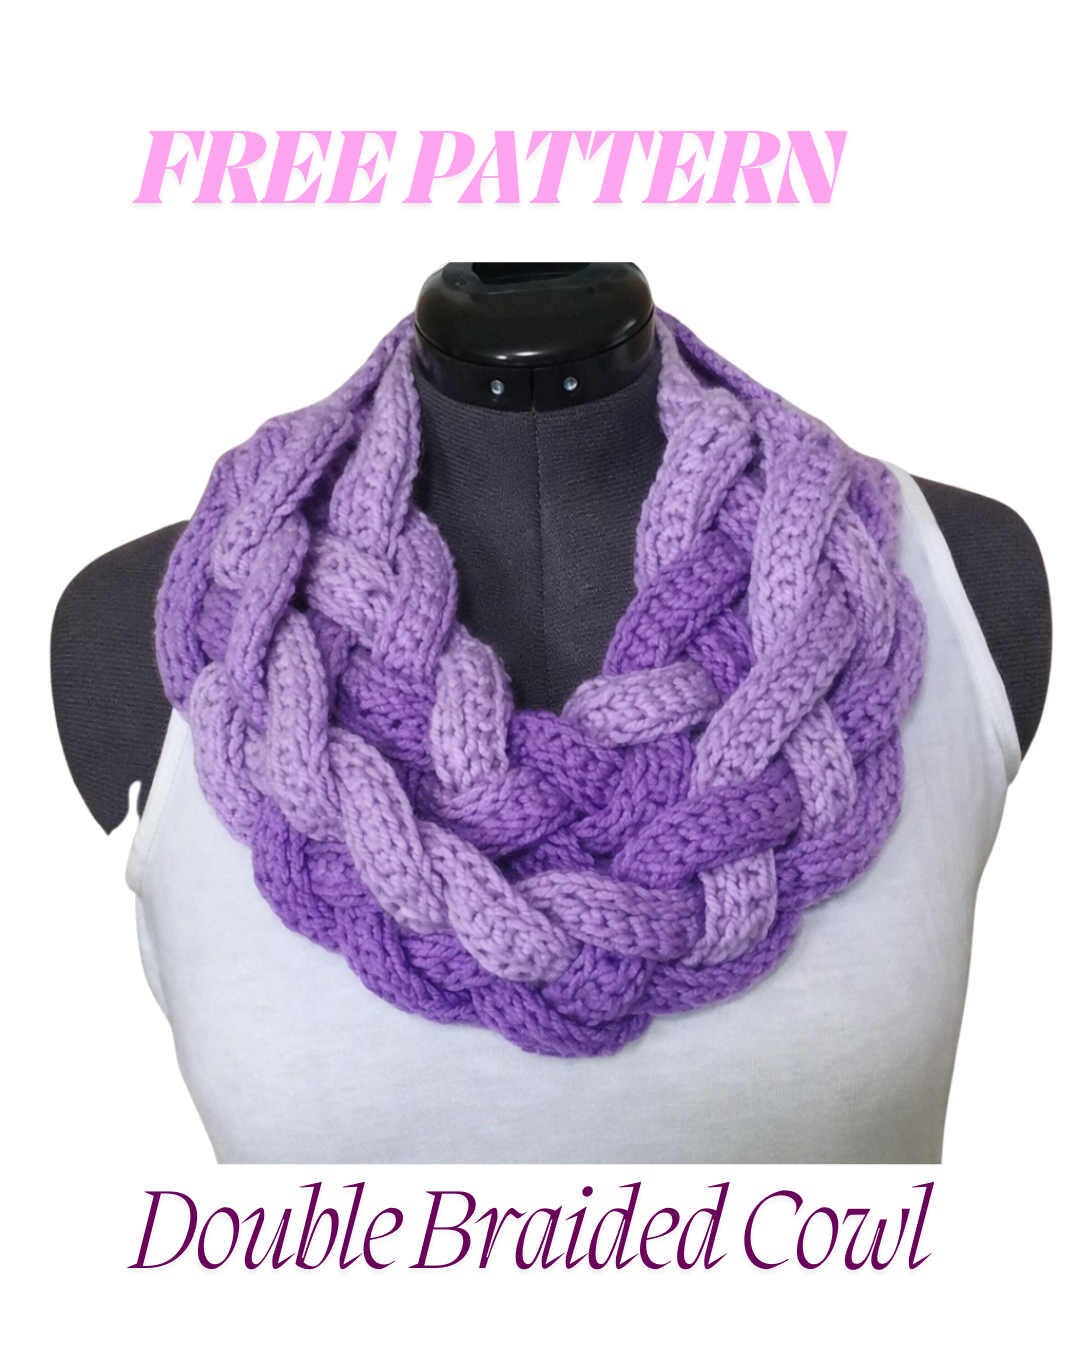
Your Double Braided Cowl is now complete! ✨
This luxurious, layered design makes a beautiful handmade gift and a stylish cold-weather accessory. Feel free to experiment with solid colors, tonal yarns, or even subtle variegated shades to highlight the braided texture. Happy crocheting! 🧶