Sc = Single Crochet
Hdc = Half Double Crochet
Dc = Double Crochet
PART 1: HEAD
Round 1
Make a magic ring.
Ch 3 (counts as 1 dc).
Work 11 more double crochets into the ring — total 12 dc.
Pull the ring closed tightly.
Sl st to the top of the beginning ch-3 to finish the round.
Round 2
Ch 1.
Work 1 sc in the same stitch, and 1 sc in the next stitch.
Continue around: 2 sc in each stitch.
Total: 24 sc.
Sl st to first sc.
Round 3
Ch 1.
1 sc in the same stitch.
Then 3 more sc (1 in each stitch).
Ch 1 and fasten off, leaving about 10 cm of yarn for sewing the head to the body.
Head + Neck portion is complete.
PART 2: WINGS (Make 2)
Row 1
Begin with a slip knot, leaving about 10 cm tail for sewing.
Ch 17.
Dc in the 4th chain from hook.
Continue down the chain, working 12 total dc (including beginning chains).
In the last 3 chains, work:
1 hdc
1 sc
1 sl st
Turn.
Row 2
Sl st into the sl st of previous row.
In next stitch: 1 sc.
Next stitch: 1 hdc.
Then 10 dc across.
Turn.
Row 3
Sl st into first stitch.
Sl st into next 2 stitches (3 sl sts total).
Ch 3 (counts as dc), then 7 dc (8 dc total).
Work 1 hdc.
1 sc.
1 sl st.
Turn.
Row 4
Sl st into first stitch.
1 sc.
1 hdc.
6 AD.
Turn.
Row 5
Sl st into first stitch.
2 additional sl sts (3 total).
Ch 3 + 3 dc (4 dc total).
1 hdc.
1 sc.
1 sl st.
Ch 1, fasten off leaving a sewing tail.
Repeat all steps to create the second wing.
PART 3: BODY (Triangle)
Any triangle shape works, but here is the version from the original video:
Round 1
Ch 4.
In the first chain, work 3 dc (4 dc total).
Ch 2.
Work 4 dc in the same first chain.
Ch 2.
Work 4 dc again in the same chain.
Ch 2.
Sl st into the 3rd chain of the beginning ch-4.
Round 2
Work 4 dc across each side:
1 dc into each dc of previous round.
At each corner:
4 dc, ch 2, 4 dc in the corner space.
Repeat around.
Each side now has 12 dc plus the ch-2 corner spaces.
Round 3
Pattern remains the same:
Dc along each side.
Work the corner increase (4 dc, ch 2, 4 dc) in each corner space.
After this round, each side has 20 dc.
Fasten off.
ASSEMBLY
1. Attach the Head to the Body
The body has a triangular top with several stitches.
2. Attach the Wings
Sew one wing on each side of the body.
You can position them slightly angled for a more natural look.
The tutorial notes that any arrangement is fine—feel free to follow your artistic sense.
3. Finish
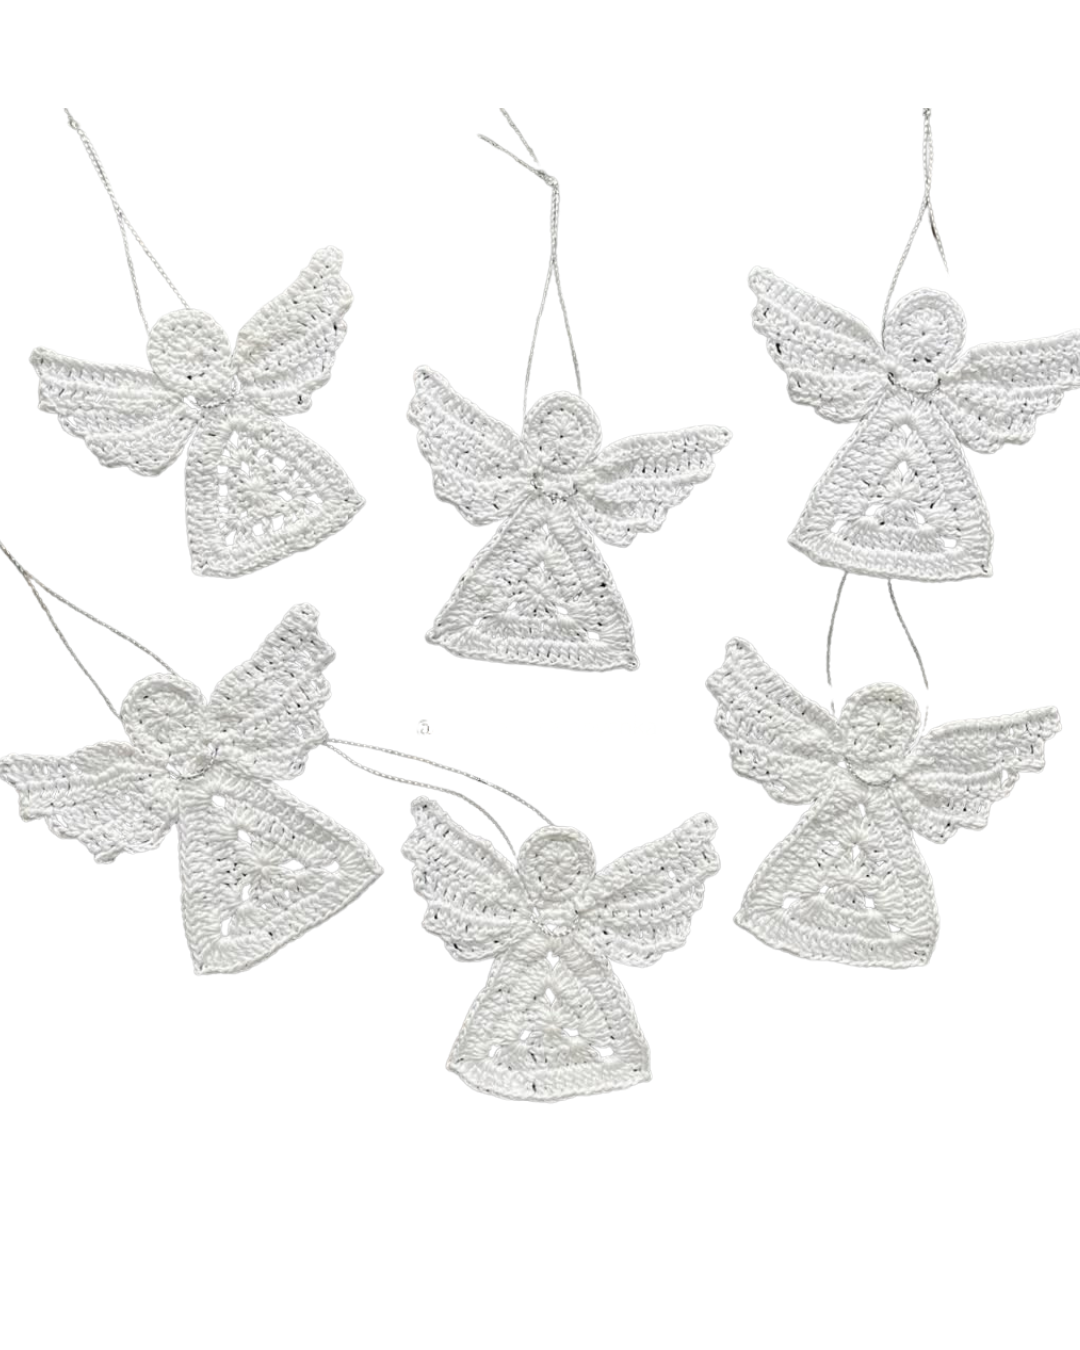
Your crochet angel is now ready!
Beautiful as a decoration, a Christmas ornament, a gift, or part of a handmade collection.