Row 4: Ch1. Sk next st, 6dc in next st, sk next st, ss in next st. Repeat between **7 more times. Sc in next 5 sts. 6dc in the next st, sk next st, ss in the top of ch3 of the last row. (9 dc shells and 5 sc sts)
Cut yarn, pull through the st on the needle, and weave in all ends.
Wattle:
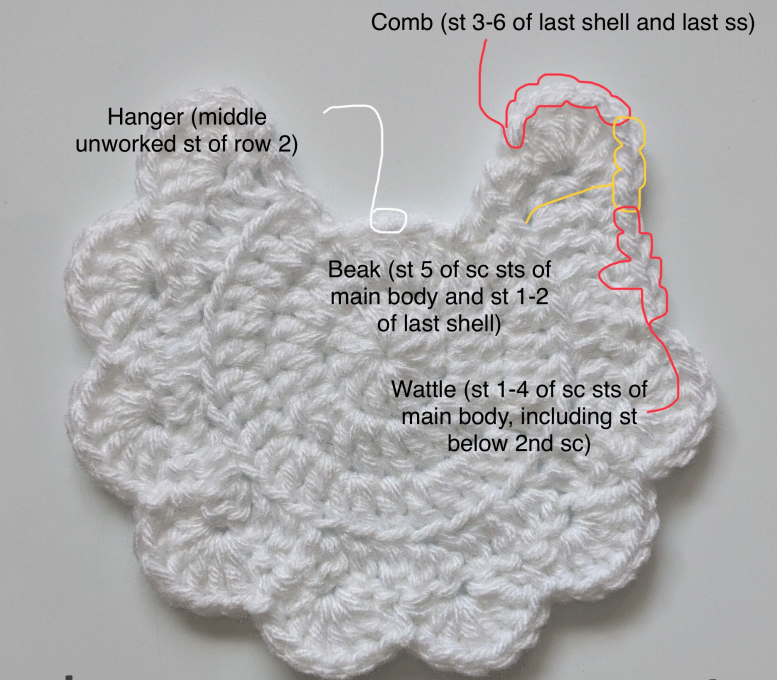
With the right side of the work facing you, join red yarn at the first sc of the last row after the ss where the 8th shell ends. (See guidance below.)
Ch1. 3sc in the row below the next st. Sk next st, ss in next st.
Cut yarn, pull through the st on the needle, and weave in ends.
Comb:
With the right side of the work facing you, join red yarn at the 3rd st in the 9th shell. (See guidance below.)
Ch1. 2dc, ch1, 2dc in next st. Repeat between ** 2 more times. Ss in next st.
Cut yarn, pull through the st on the needle, and weave in all ends.
Beak:
With the right side of the work facing you, join yellow yarn into the last sc of the 5th sc in the last row of the main body. (See guidance below.) Ch1. Sc in the next 2 sts. Turn work. Sc2tog the next 2 sts. Cut yarn, pull through the st on the needle, and weave in all ends.
Hanger (optional):
With the wrong side of the work facing you, join the main color yarn at the middle unworked st of row 2. (See guidance below.)
Ch12. Ss in the same st as join. Cut yarn, pull through the st on the needle, and weave in ends.
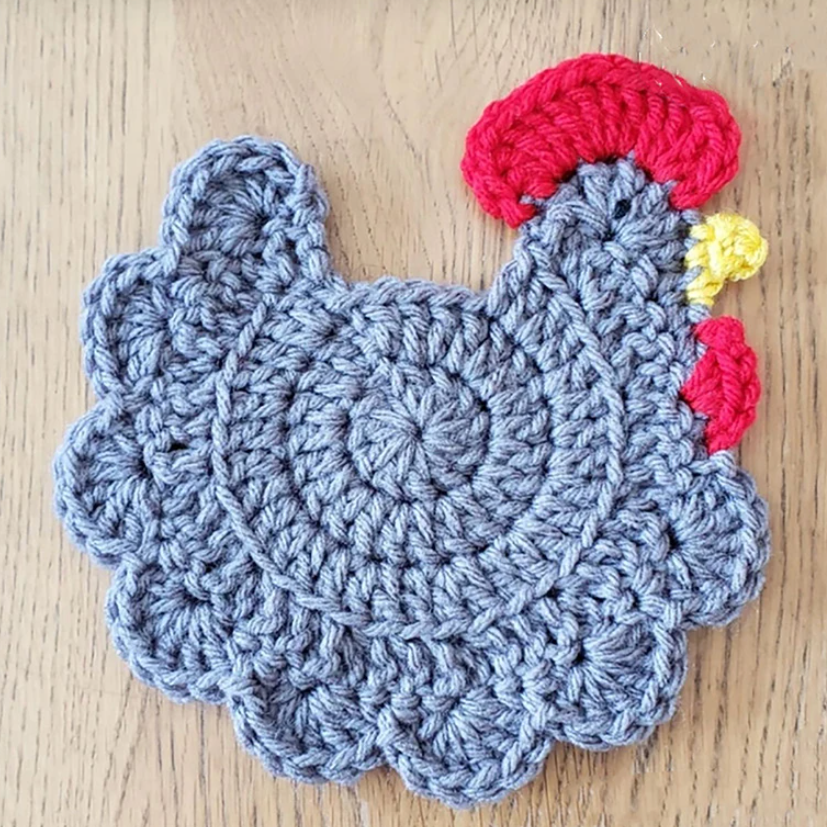
Chicken Coasters Crochet Pattern
Hint!
Weaving in ends with very small parts like the wattle, comb, and beak can be tricky. Try weaving underneath the dc sts in the shells on the wrong side of the work to secure them.
The Chicken Coasters Crochet Pattern is a delightful project that combines creativity, practicality, and charm. Its playful design makes it a wonderful addition to any kitchen, while its simple construction makes it accessible for crocheters of all skill levels. Whether you’re making them for your own home or as thoughtful handmade gifts, these coasters are sure to bring warmth and personality to everyday moments.
These cute chicken coasters will add a touch of farmhouse charm to your home. Quick and easy to make, they’re perfect for using up scrap yarn and are sure to impress your guests. Happy crocheting!