.
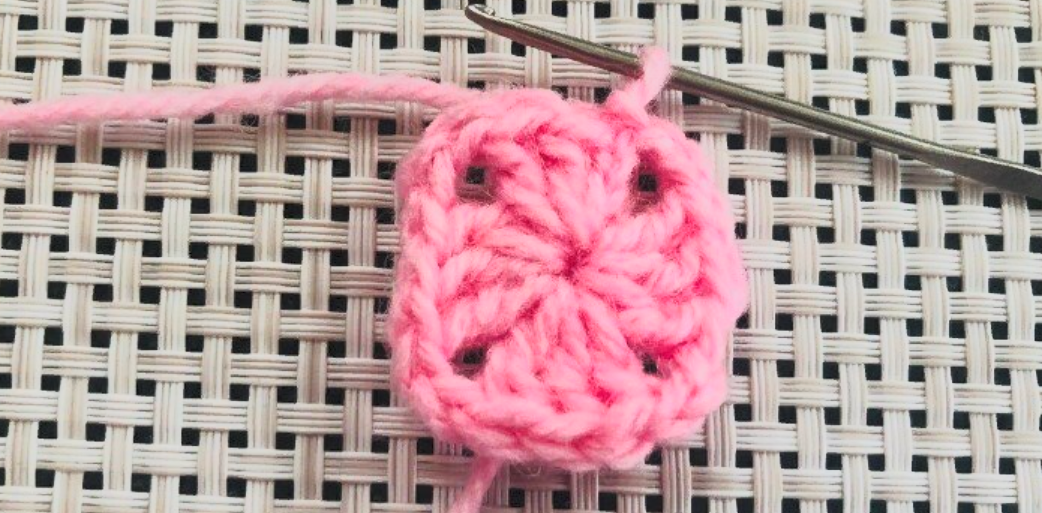
We use a contrasting color yarn (I have raspberry).
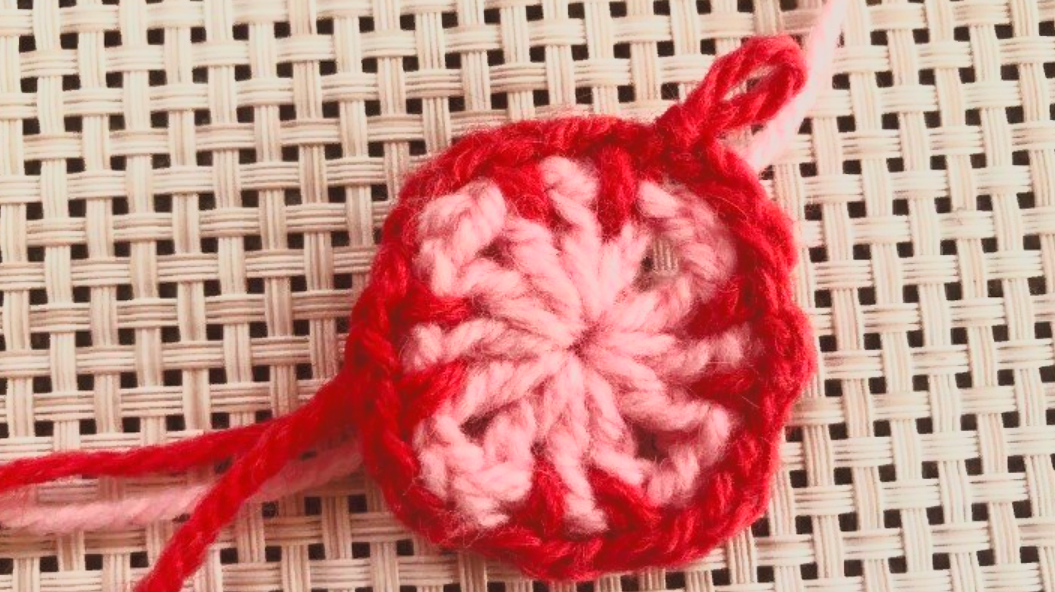
2nd row – 1 sc * 1 dc under the arch between 1st and 2nd dc of the previous row – 2 ch – 1 dc under the arch between 2nd and 3rd dc of the previous row – 3 ch (corner of the square) – repeat 3 times * finish the row with slip stitches. in the 1st dc. We do not cut the yarn. Leave a longer loop so that the yarn does not unravel.
👉 Note. In all subsequent even rows, we knit single crochets under the arch between single crochets of the previous row. Between single crochets, we make 2 ch, in the corners of the square, we make 3 ch.
.
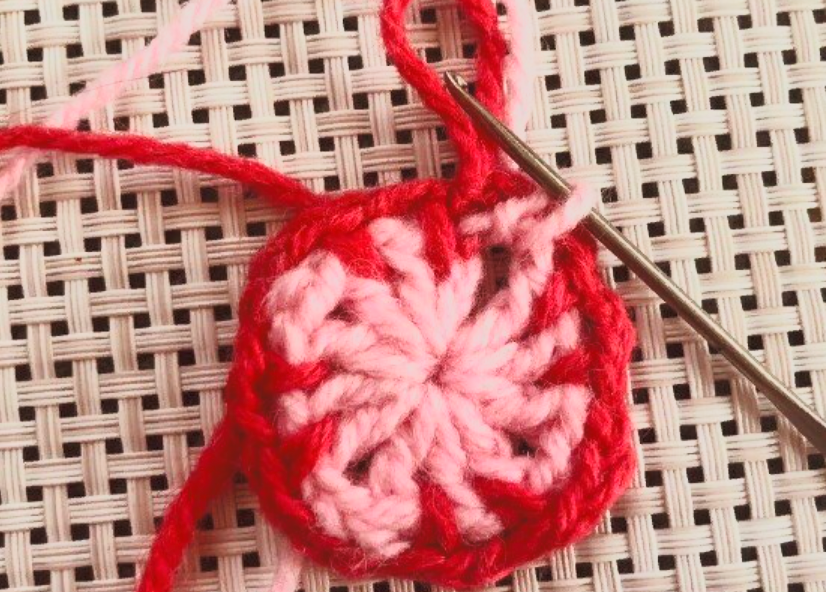
We take the pink working yarn and place it under the arch of the last corner of the square.
.
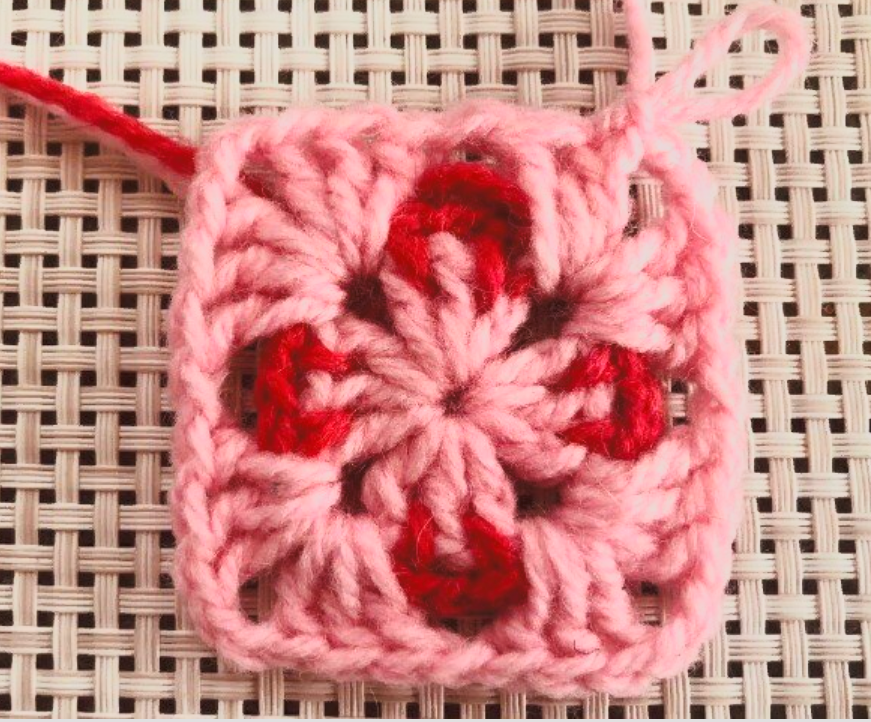
In the 3rd row, we knit the corners of the square.
3rd row – 2 ch (replaces 1 dc) – 2 dc – * 1 dc – 3 dc (in the angle of the next arch) – 2 dc – 3 dc (in the same arch) – repeat 2 more times * – 1 ch – 3 dc (in the corner of the last arch) – 2 dc. Finish the row with slip stitches. in the 2nd ch. At the end, leave a longer loop. The square now has sides (2 ch loops arcs). 👉 Note. At the beginning of the row, we always draw a contrasting yarn in even rows under the arch between the 1st and 2nd double crochets of the previous row. The main color yarn at the beginning of odd rows is always passed under the arch of the last corner. See above.
.
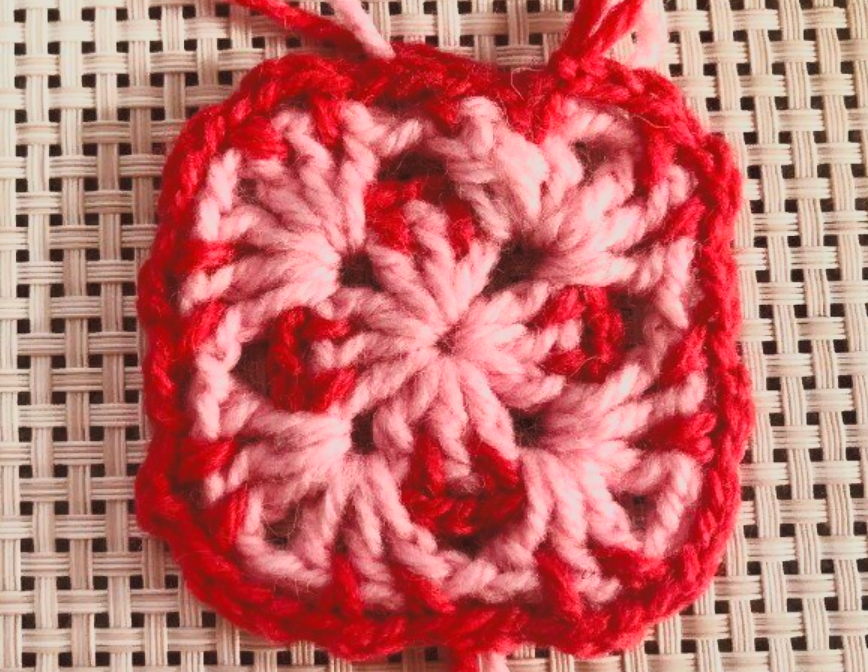
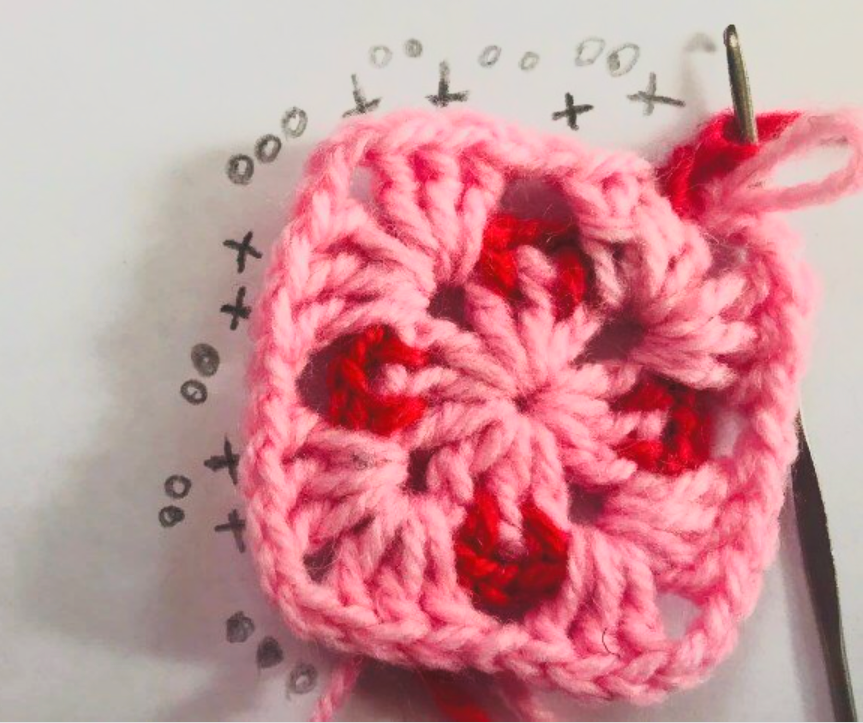
4th row – * pull the yarn (secure, it becomes 1 sc) – 2 ch – 1 sc – 2 ch (side of the square) – 1 sc – 2 ch – 1 sc – 3 ch (corner of a square) * – repeat 3 more times. Finish the row with slip stitches. in the first sc at the beginning of the row. 4 rows.
.
.
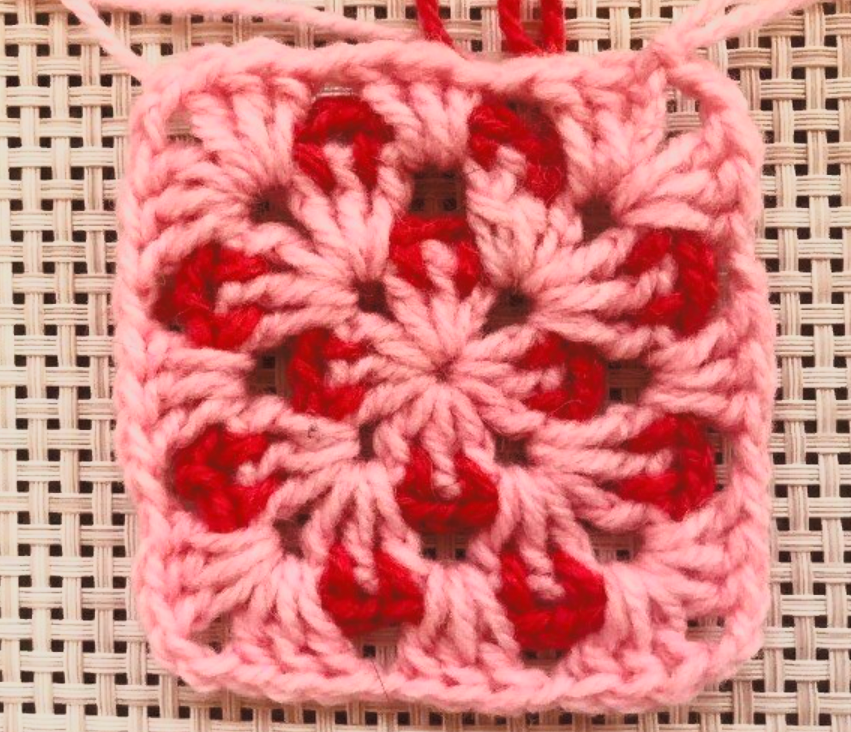
Next, we continue knitting to the desired size, alternating rows 3 and 4. The square has sides.
.
Line 5 👉 Note. In the corners of the square, we make 2 sc, 1 ch on each side. In the corners’ arches, we knit 2 pairs of double crochets and 2 sc between them. On the sides of each arch, we knit 3 double crochets and 1 ch between them. Note that with each row, the sides of the square become larger.
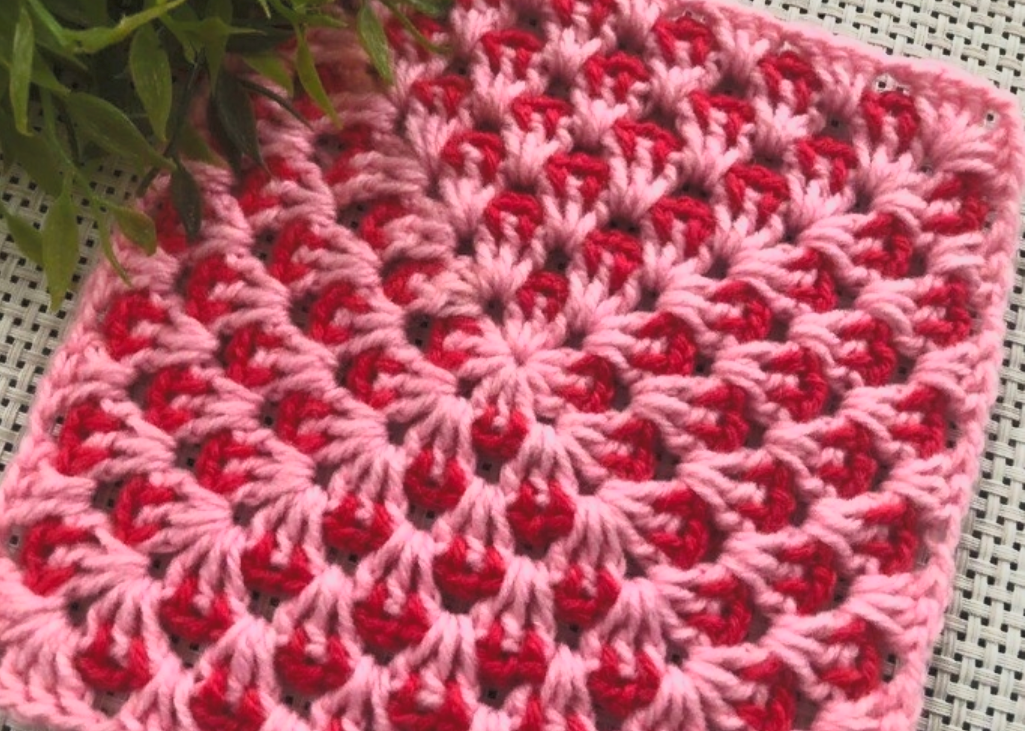
This is the kind of beauty we get. Decide for yourself which color will finish the square; you can make it light or dark, and it looks beautiful either way, no matter how you look at it…
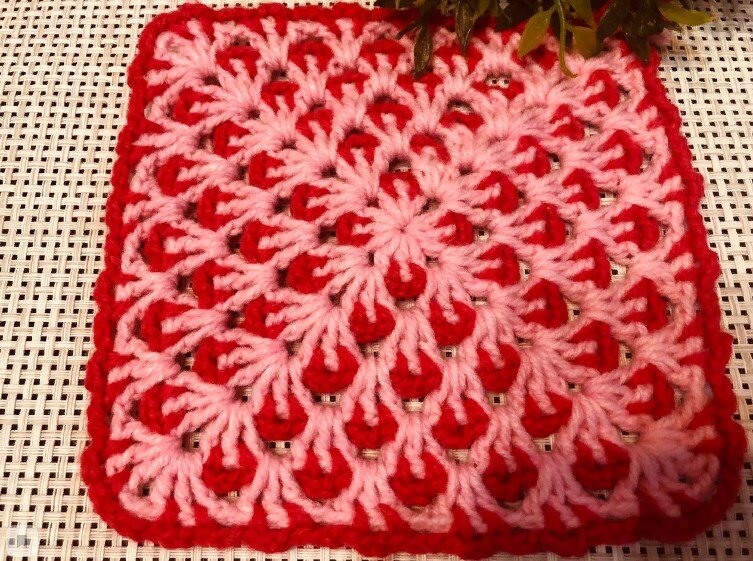
Beautiful Granny Square
In a world that often feels fast-paced and ephemeral, the enduring beauty of the granny square serves as a timeless reminder of the power of craft and creativity to connect us across generations and cultures. Whether you’re a seasoned crocheter or just picking up your first hook, the granny square invites you to slow down, savor the process, and find joy in the simple act of creation. So pick up your yarn and hook, and let the magic of the granny square unfold as you stitch your own masterpiece, one square at a time.
